Planning
Maintained by Nova
The planning subsystem takes real-time perception and mapping data and determines what our vehicle should do.
Our planning architecture relies on a unique layering of cost maps to traverse a representation of our environment and produce a “cost-effective” trajectory which eventually translates to real-world actuation.
The car should follow three instructions, in order of priority:
- Don’t run into anything.
- Drive forward along a route until the goal is reached.
- Obey traffic laws.
The car should be rewarded for obeying these three instructions, and the Planning system’s objective should be to maximize this reward.
To help the car make appropriate decisions, we can feed it “costmaps” that represent the reward that the car will receive if it drives through a given spot on the map. Each costmap might represent a specific quality (the drivable surfaces near the car, for example), and we can simply take the weighted sum of each costmap to generate a hollistic overview for the car.
Keep in mind that “cost” and “reward” are really the same concept. The car’s goal is to select a path that moves through regions of the greatest reward, a.k.a. of the least cost.
The more costmaps we sum together and the more carefully we select the weights for the sum, the better our car will be at making decisions.
Costmaps
Here are the costmaps that we should calculate at minimum, along with their justification:
Drivable area
This describes a surface that the car is allowed to drive over, mainly lanes, parking spaces, and intersections.
We can expand this drivable area if the car’s current options are exhausted. For example, the default drivable area may only include lanes that match the car’s current driving direction, but this region can be expanded to include lanes with oncoming traffic if the current region is blocked.
Justification: The car should only be allowed to drive on “drivable” surfaces: no sidewalks, lawns, etc.
Suggested format: 0.4m cell size, 40m range.
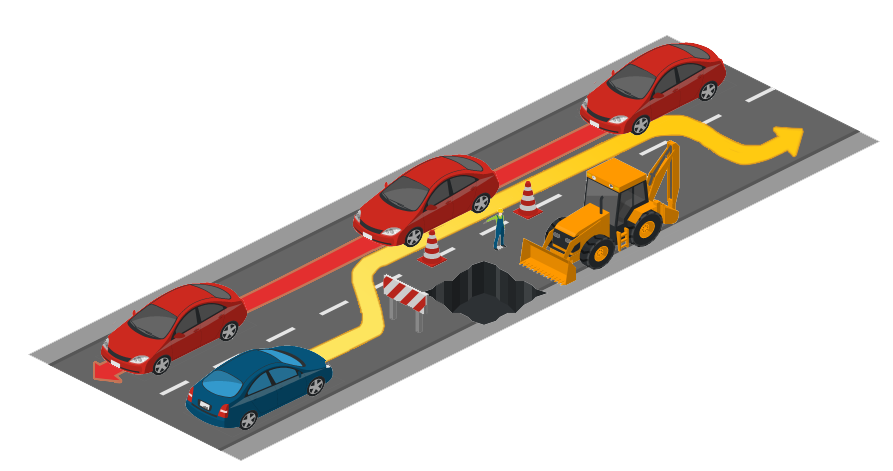 Above: Example where drivable region expansion may be useful. Credit: CARLA Leaderboard.
Predicted occupancy
Occupancy grids are a common concept in robotics used to describe obstacles. The world is divided into cells. If a given cell contains an obstacle, then it is marked as occupied.
Using machine learning, we can generate occupancy grids not just for the present ($t=0$), but also for the future (such as $t=3s$).
For a simple costmap that compresses all temporal considerations into the present, we can simply add the predicted occupancies across all frames, creating a single costmap for both the current and future occupancies.
Justification: The car should not run into anything.
Suggested format: 0.4m, 20m range minimum, 40m ideal.
Distance to route & goal
This is a combined costmap that describes both how far the car is from the route and from the goal.
Justification: The car should drive along the route until the goal is reached.
Costmap specifications
- All costmaps should be in the
base_linkframe, centered on the vehicle. - All costmaps should have resolutions (cell sizes) that are multiples of the same base resolution. Example: 0.4, 0.8, and 1.6 meters. This allows them to be cleanly scaled.
- The costmaps do not necessarily need to share an origin nor size, though their sum will only be accurate in the region where they align.